
Mould is a persistent problem in Townsville’s humid climate, affecting homes, offices, and businesses. If left unchecked, it can cause structural damage, unpleasant odours, and serious health risks. Proper Townsville mould removal is essential to keep your indoor environment safe.This guide provides a step-by-step checklist to help you identify, treat, and prevent mould effectively using the best Townsville mould treatment methods.
Why Mould is a Serious Problem in Townsville
1. Health Risks of Mould Exposure
Mould releases spores into the air, which can lead to respiratory issues, allergies, and skin irritation. Common symptoms include:
- Chronic coughing and sneezing
- Irritated eyes, nose, and throat
- Asthma flare-ups and breathing difficulties
- Fatigue and headaches
2. Damage to Your Property
Mould thrives in damp and poorly ventilated spaces, weakening walls, ceilings, and floors. If not removed promptly, it can lead to:
- Peeling paint and wallpaper
- Rotting wood and weakened drywall
- Musty odours that linger in rooms
3. Decreased Property Value
A mould-infested home is harder to sell or rent. Townsville mould removal ensures your property remains attractive to buyers and tenants.
Step-by-Step Mould Removal Checklist
Step 1: Identify the Signs of Mould
Before you begin mould removal, check for these warning signs:
- Visible Mould Growth – Black, green, or white patches on walls, ceilings, or furniture
- Musty Smell – A persistent damp odour in certain areas
- Water Damage – Stains, leaks, or condensation on windows and walls
- Health Symptoms – Increased allergies or breathing problems indoors
Tip: Use a moisture meter to check humidity levels in problem areas.
Step 2: Gather Essential Mould Removal Supplies
To safely remove mould, you’ll need:
- Gloves, goggles, and a face mask (for protection)
- Scrub brush and sponges (for cleaning)
- Vinegar or hydrogen peroxide (natural alternatives)
- Commercial mould cleaner (for stubborn mould)
- Dehumidifier or fans (to reduce moisture)
Step 3: Contain the Affected Area
Before cleaning, prevent mould spores from spreading:
- Seal off the room with plastic sheeting
- Turn off air conditioners and fans
- Keep windows open for ventilation
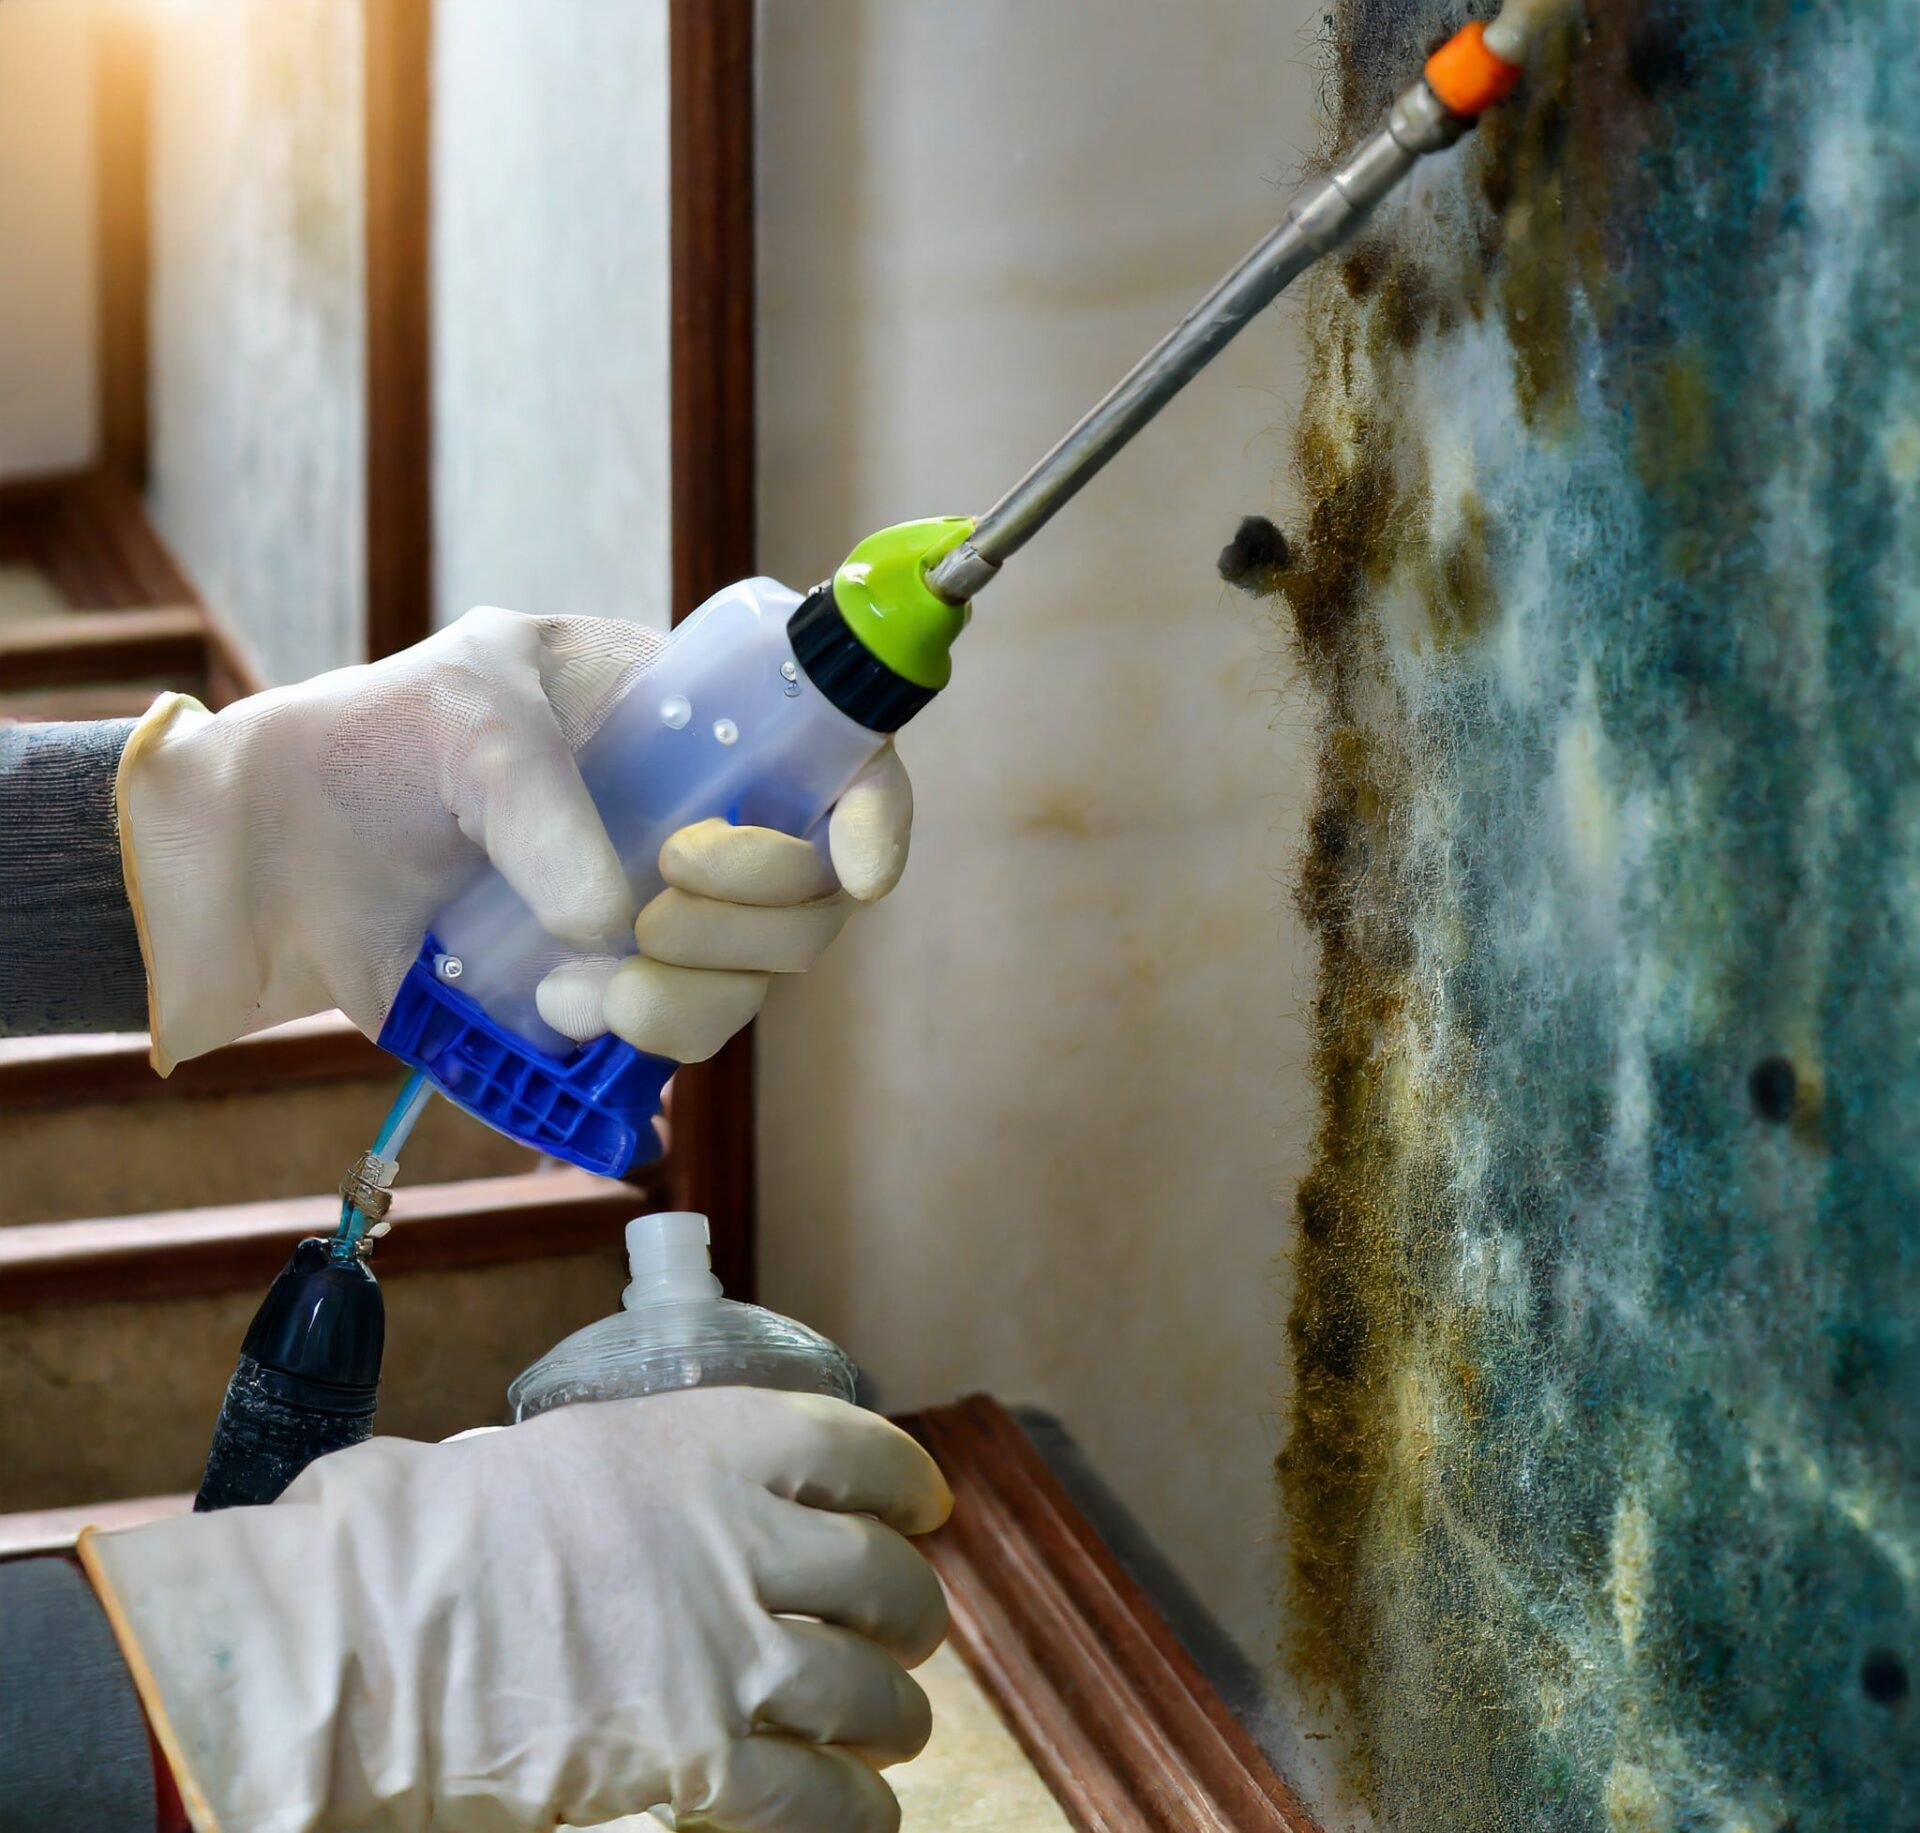
Step 4: Remove & Clean Mould
Depending on the severity of the infestation, choose a suitable cleaning method:
✔ For Small Mould Patches:
-
Spray white vinegar or hydrogen peroxide directly onto the mould
-
Let it sit for 10-15 minutes before scrubbing
-
Wipe with a clean cloth and let the area dry
✔ For Larger Infestations:
-
Use a commercial mould remover
-
Scrub with a stiff brush
-
Dispose of contaminated materials safely
✔ For Porous Materials (Carpet, Wood, Drywall):
-
If deeply affected, replace the material
-
If salvageable, treat with anti-mould solutions
Step 5: Dry & Dehumidify the Space
- Moisture control is key to preventing mould regrowth.
- Use a dehumidifier to maintain humidity levels below 50%
- Open windows and doors for natural airflow
- Repair leaks in pipes, roofs, and walls
Step 6: Apply Mould Prevention Treatments
Once the area is clean and dry, apply preventive measures:
- Use mould-resistant paint on walls
- Install exhaust fans in kitchens and bathrooms
- Clean air vents and HVAC systems regularly
- Keep furniture slightly away from walls for air circulation
Townsville Mould Treatment: DIY vs. Professional Help
| Factor | DIY Mould Removal | Professional Mould Treatment |
|---|---|---|
| Effectiveness | Works for small areas | Best for large or stubborn infestations |
| Health Risks | Risk of improper handling | Safe removal with proper equipment |
| Long-Term Results | May not fully eliminate mould | Ensures complete removal and prevention |
| Cost | Low-cost materials | Higher upfront cost, but long-term savings |
When to Call a Professional:
- Mould covers over 1m² of space
- You have severe allergies or respiratory issues
- Mould keeps returning despite DIY efforts
Cost of Townsville Mould Removal
Factors Affecting Cost
- Size of the infestation – Larger mould growth = higher cost
- Type of treatment required – Eco-friendly and advanced methods may cost more
- Damage repair needs – If walls or ceilings are affected, extra repairs are needed
How to Prevent Mould in Your Home
- Control Humidity: Keep indoor humidity levels below 50%
- Improve Ventilation: Use exhaust fans in kitchens and bathrooms
- Fix Leaks Quickly: Repair roof, wall, and plumbing leaks immediately
- Clean Regularly: Wipe damp areas, wash fabrics, and vacuum carpets often
- Use Mould-Resistant Products: Paint walls with mould-inhibiting coatings
By following these steps, you can prevent future mould problems and maintain a healthy home environment.
Conclusion
Mould is a serious issue that requires immediate action to protect your health and home. Whether you choose DIY cleaning methods or hire a professional for Townsville mould removal, following this checklist will ensure effective treatment and long-term prevention.If you need expert help, contact a professional Townsville mould treatment service today to ensure a safe and mould-free home!